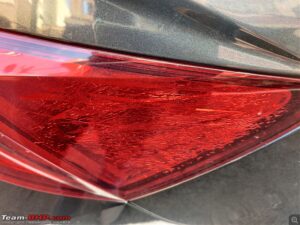
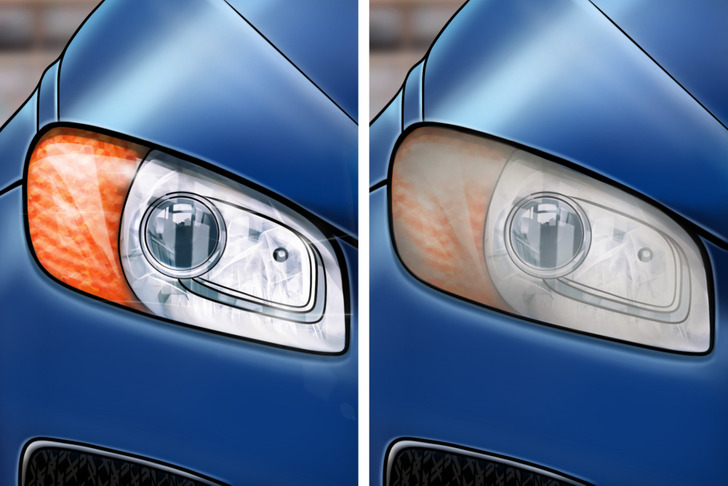
Driving at night requires maximum visibility to ensure your safety and the safety of others on the road. However, over time, you might notice that your car’s headlights are losing their brightness. Instead of being crystal clear, they look cloudy, yellowed, and hazy. This common problem is known as headlight oxidation, and it happens when the acrylic material of the lens reacts with harsh UV rays from the sun, road debris, and atmospheric pollution.
While buying a professional restoration kit or taking your car to a mechanic is always an option, you can actually fix this issue right in your garage using simple household items. One of the cheapest and most effective methods involves using regular white toothpaste and baking soda. Here is a comprehensive, step-by-step DIY guide to restoring your cloudy headlights back to life.
Step 1: Wash the Headlights Thoroughly
Before applying any cleaning agent, you must remove the surface dirt, mud, and road grime. Mix some car shampoo or regular dish soap in a bucket of warm water. Use a soft sponge to wash the headlight lenses thoroughly. Once clean, rinse them with clean water and dry them completely using a clean microfiber cloth.
Step 2: Mask the Surrounding Paint
Toothpaste and baking soda act as mild abrasives. While they are great for scrubbing away oxidation from plastic lenses, they can accidentally scratch your car’s paint if you slip. To prevent this, apply automotive painter’s tape all around the edges of the headlights. This protects your car’s bodywork during the scrubbing process.
Step 3: Apply the Toothpaste and Baking Soda Mix
Take a standard white toothpaste (avoid using gel-based or colored toothpaste, as they do not have the necessary abrasive qualities). Squeeze a generous amount directly onto the headlight lens. For extra cleaning power, sprinkle a teaspoon of baking soda over the toothpaste. The baking soda adds a bit of extra grit to break down heavy yellow oxidation.
Step 4: Scrub in Circular Motions
Take a clean microfiber cloth or a soft-bristled old toothbrush. Start scrubbing the toothpaste mixture into the lens using small, firm, circular motions. Make sure to cover the entire surface, spending extra time on the foggiest and most yellowed sections. You should start seeing the white paste turn slightly yellow or brown as it lifts the oxidation. Keep scrubbing for about 3 to 5 minutes per headlight.
Step 5: Rinse, Dry, and Protect
Once you are done scrubbing, wipe away the paste using a damp cloth. Rinse the headlight with clean water to remove any leftover residue. Dry it off with a clean towel, and you will instantly notice a massive difference in clarity.
To ensure your headlights stay clear for a long time, apply a thin layer of high-quality car wax or a dedicated UV sealant. Buff it out with a clean microfiber cloth. This protective layer shields the plastic from sun damage, keeping your headlights clear for months to come.